The UK’s Largest Range of Easy Fit Decorative Mouldings for Walls and Ceilings
Explore Now

Same great company, same great service!

The UK’s largest online range of easy fit coving, cornice & decorative mouldings.

3D Wall Panels
Bring refreshing, modern style to your home with our 3D panels and wall textures! Available in spectacular designs that are all lightweight, easy to fit and pre primed, requiring only a single coat of paint. Feature walls are definitely in fashion right now and our wall panels are the easiest way to create one for yourself!
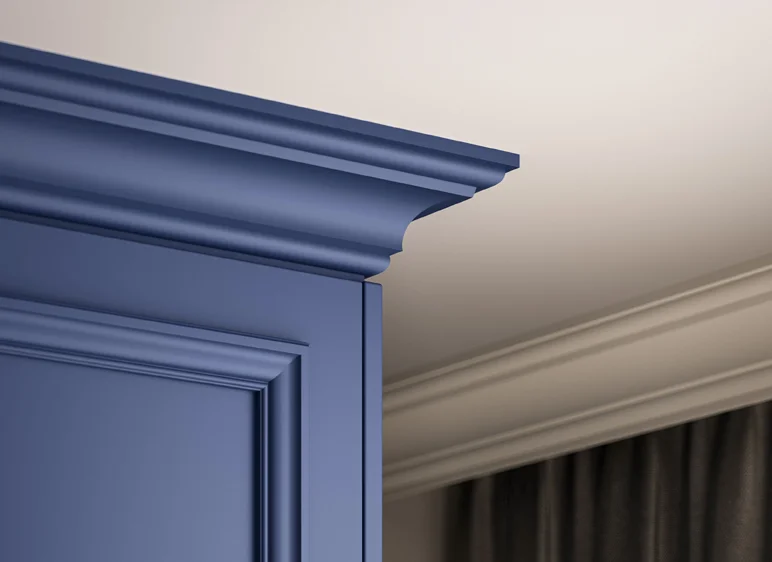
Art Deco Collection
Art Deco is a classic style that first became popular in 1920s Paris. It has seen a resurgence recently, so we've curated a number of profiles that fit within the style and are available to be viewed and purchased here. Please don't hesitate to order a sample if you'd like to see them before buying!
Best Selling


Recently Viewed

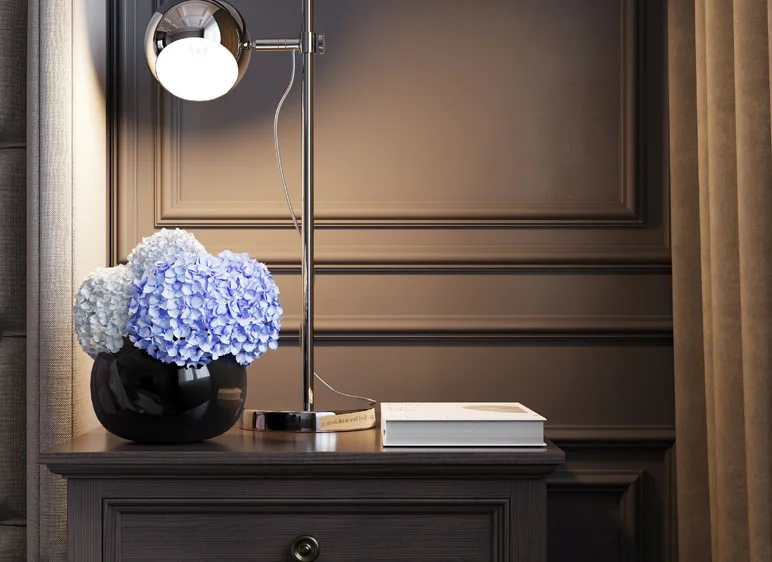
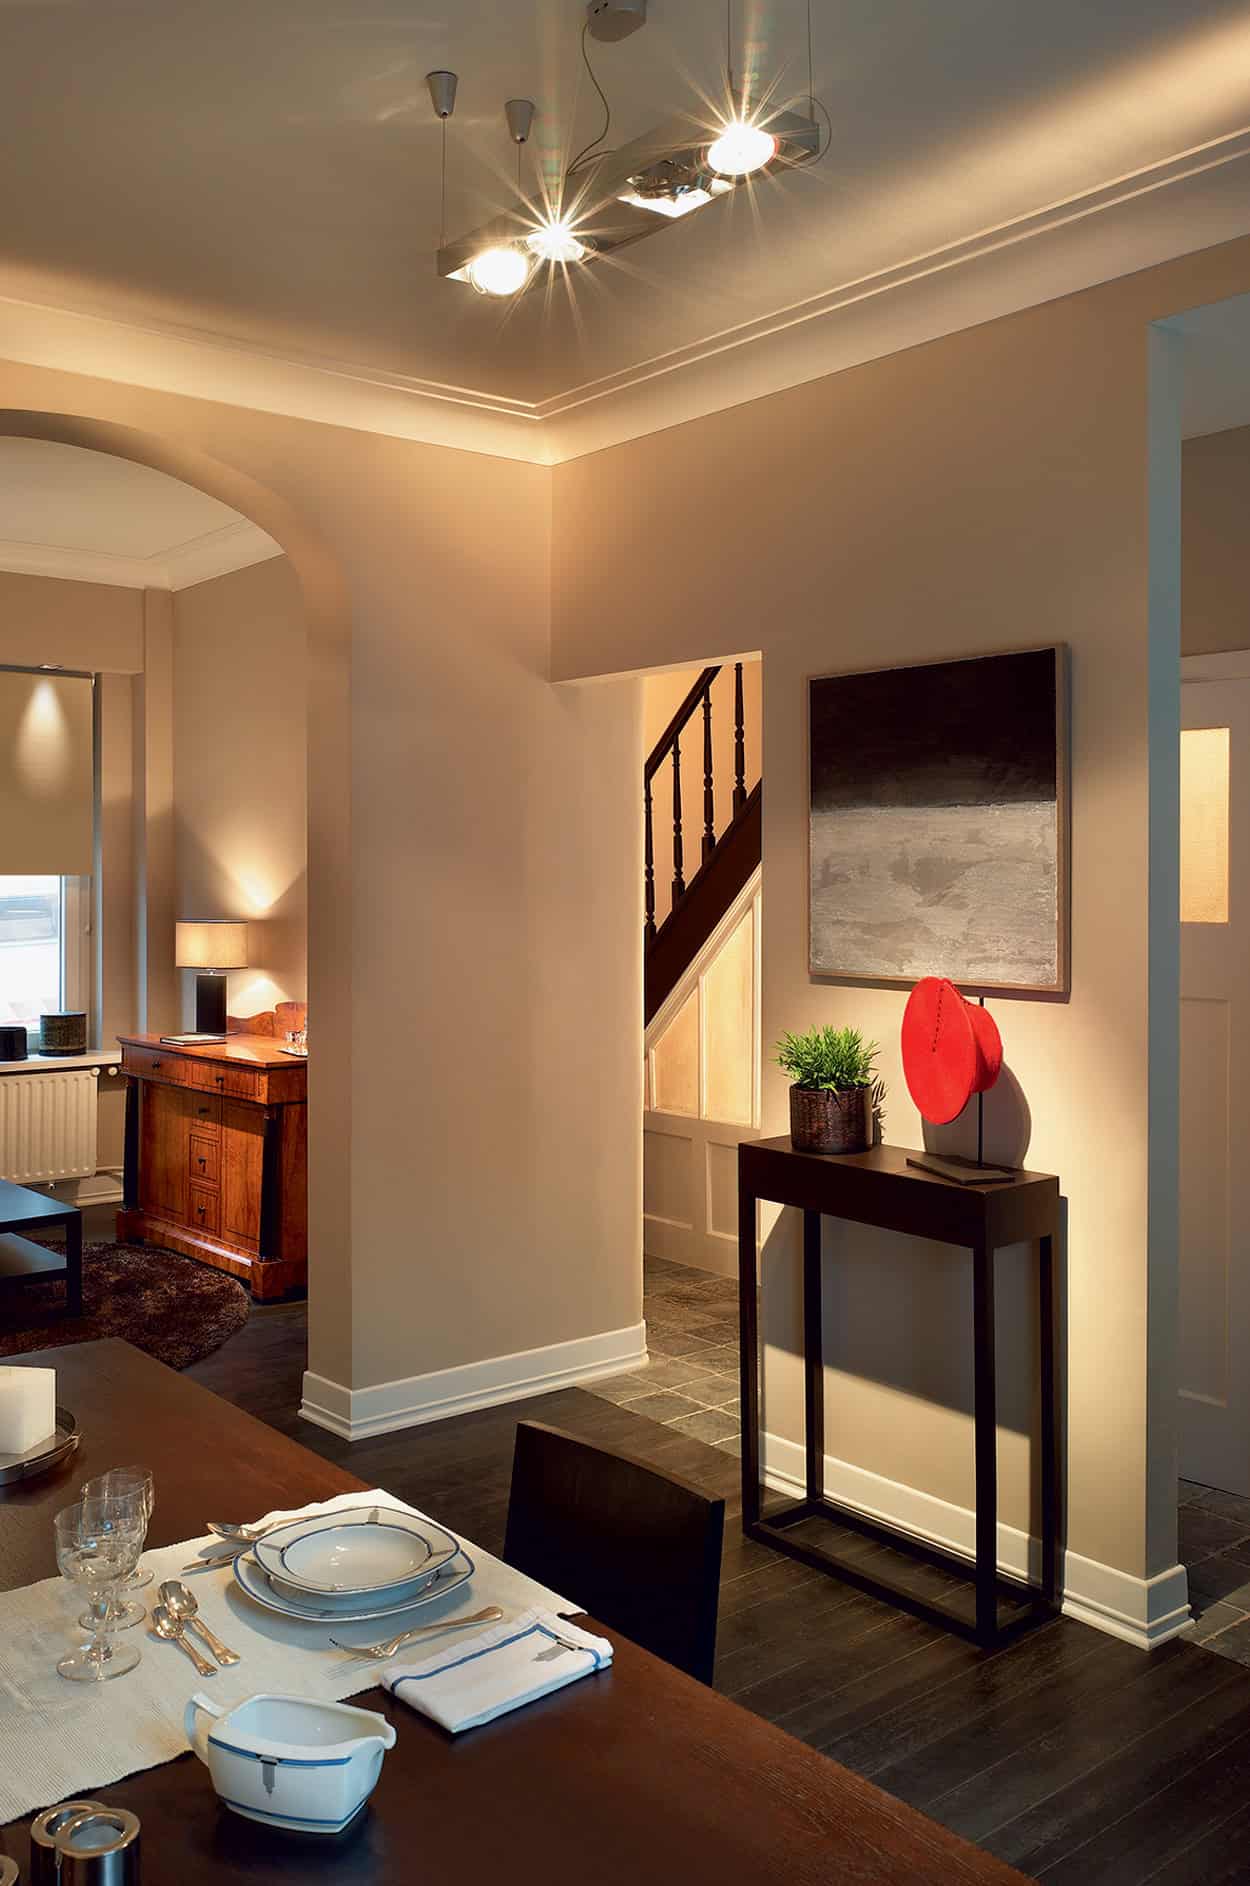
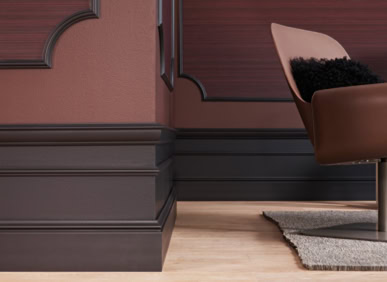
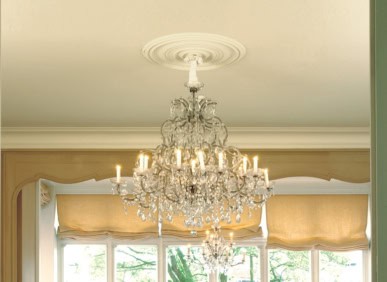
Decorative mouldings, like coving and cornice, can transform a home. Here at ukhomeinteriors, we have more easy fit architectural mouldings than any other UK online company, which gives you more choice than you’ll find on any other website. To view these simply use the navigation menu at the top of each page.
The majority of our decorative mouldings have the beauty, surface texture and fine detail of plaster, but are made from modern materials that are lightweight, pre-primed and not brittle. This means that they retain all of the beauty of traditional materials, but are much easier and quicker to install, and are less prone to damage. Our architectural mouldings cover almost any feature you could wish for; interior wall and ceiling features, and exterior mouldings, too. So, whether you want a simple coving, or to fill your home with ornate features, we have options for you. We have products to suit almost any period, from Georgian, Victorian and Edwardian traditional mouldings, to highly stylised Art Deco and Shaker styles, to the avante-garde and contemporary styles loved by interior designers and architects. Not only that, but we try to cover a range of price points wherever possible. So, from top end premium cornice and coving, to the cheapest budget polystyrene options, we have something to suit a range of budgets.
Whatever you’re looking for, you should find it here.
If you need any help, we’re available on the end of the phone to offer advice. We have plenty of experience and an in-depth knowledge of our products, so please feel free to put us to the test.
We hope to hear from you soon.
Learn More