How to Fit Lightweight Mouldings | Easy Fitting Guide

How to fit lightweight mouldings? Here’s our Easy Guide for the Perfect Fit.
Lightweight decorative mouldings are one of the easiest ways to elevate a space—adding architectural interest and elegance with minimal effort. Whether you’re a homeowner tackling a weekend DIY project or an interior designer working to a deadline, polymer mouldings make installation simple, clean, and stress-free.
Here’s your easy, step-by-step guide on how to fit lightweight mouldings with confidence.
1. Why Choose Lightweight Mouldings?
Unlike traditional plaster, modern mouldings are made from high-quality polymers. This makes them:
-
Lightweight – easy to lift and handle solo
-
Durable – crack-resistant and long-lasting
-
Moisture-resistant – ideal for bathrooms or kitchens
-
Easy to cut and fit – no heavy tools or labour costs
Perfect for cornices, coving, panel mouldings, ceiling roses and even exterior elements like dentils or window surrounds.
2. Tools You’ll Need
You won’t need much—another reason these products are so popular.
✅ Fine-tooth saw or mitre saw
✅ Mitre box (for clean corners)
✅ Adhesive
✅ Caulk or filler
✅ Sandpaper
✅ Damp sponge
✅ Paint and brush (for decorating after)
3. Prep the Space
Before fitting your lightweight mouldings, ensure the surface is clean, dry and smooth.
-
Remove dust and debris from walls or ceilings
-
Fill any major holes or uneven areas
-
Mark guidelines using a spirit level or chalk line
4. Measure and Cut Carefully
This is where precision matters most. Always:
-
Measure twice, cut once
-
Use a mitre box to cut corners at a 45° angle
-
Dry-fit the pieces before applying adhesive
Want help with cutting corners? Check out our installation guide or this guide on How to use a Mitre Box.
5. Apply Adhesive and Fix in Place
Using our strong quick grab adhesive:
-
Apply adhesive to the back edges of the lightweight moulding
-
Press firmly into position along your marked line
-
Wipe away any excess adhesive immediately
Use panel pins or temporary supports if needed while the adhesive sets.
6. Fill, Finish and Paint
Once installed:
-
Use caulk or filler to fill any gaps or joints
-
Lightly sand once dry for a seamless finish
-
Paint with a good quality paint to match your décor
Most polymer mouldings come pre-primed, making final decorating fast and easy.
7. Where to Use Lightweight Mouldings
These products work beautifully in both period and modern homes. Popular uses include:
-
Cornices and coving – to soften transitions between wall and ceiling
-
Wall panel mouldings – for traditional panelled effects or modern geometric layouts
-
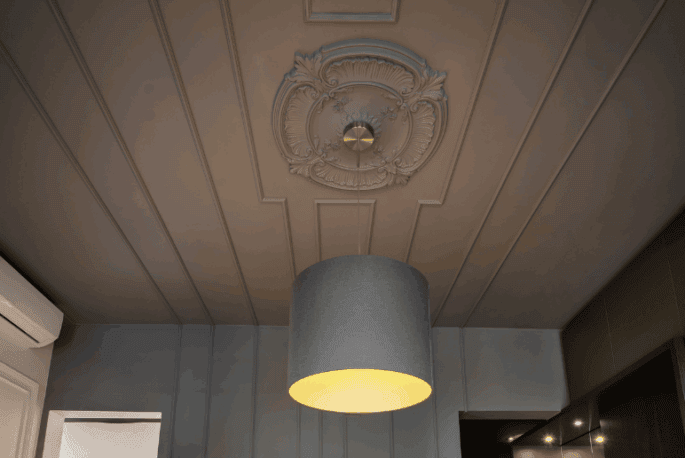
Ceiling roses – to frame chandeliers or pendant lights
-
Exterior mouldings – to elevate kerb appeal with window surrounds, columns, and dentils
Knowing how to fit lightweight mouldings opens up endless interior design possibilities. It’s quick, achievable, and delivers real wow-factor—whether you’re freshening up a hallway or transforming a whole home.
Ready to get started? Browse our easy-to-fit coving, cornices, and more at UK Home Interiors.


